Tips and tricks
Getting your kit ready
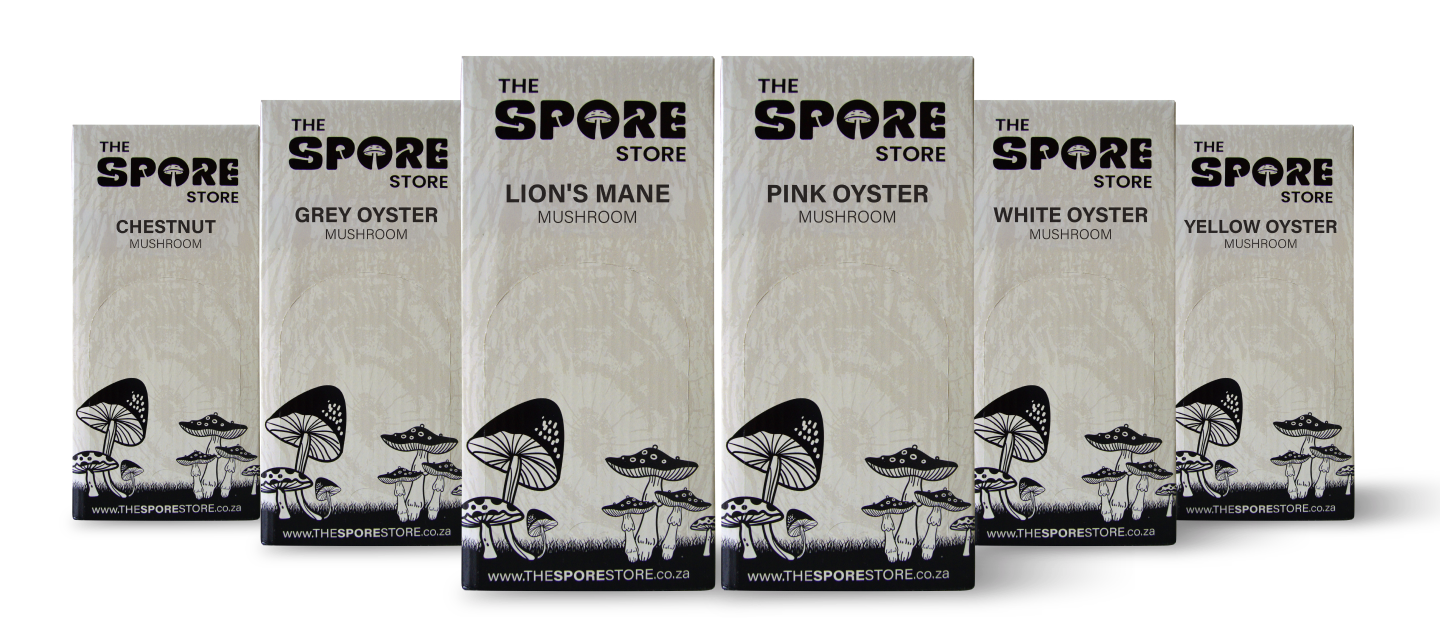
Inspect your mushroom grow kit
After receiving your mushroom grow kit, take a moment to carefully remove the front panel.
Cut a small X (2-3cm) into the plastic with a sharp blade.
Meet the mycelium
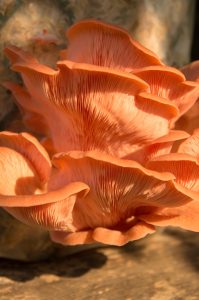
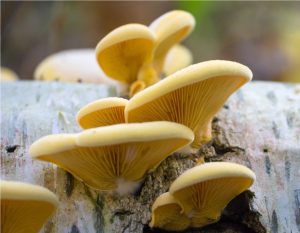
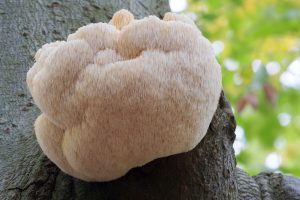
That fuzzy, white substance growing on your kit might look like mold, but fear not—it’s actually the vegetative form of a mushroom called mycelium. Different mushroom species exhibit varying appearances:
Creating the right environment
Once you’ve set up your mushroom kit, pay attention to three crucial factors: humidity, air flow, and light. These elements play a significant role in your mushrooms’ growth and colour development:
Moisture matters
- Regularly spray your mushrooms to maintain proper humidity.
- Consider adding a humidity tent if your mushrooms could use some extra moisture.
- Avoid storing them in a cupboard or closet; instead, showcase them as centrepieces on your dining table or kitchen counter. They’ll appreciate a little dappled sunlight and gentle air circulation. Plus, you can admire them during your coffee breaks!
Pinning and first flush
- Within 5-14 days of activation, your kit should start “pinning,” which means baby mushrooms will begin to form.
- After pinning, it typically takes only 2-5 days for your mushroom kit to produce its first full flush of mature mushrooms.
- You have options: either remove the bag and plant the block in your garden, or simply leave it in the box and water it daily until a second flush form.
Remember, each mushroom variety has its quirks, so observe and adjust as needed. Happy growing! 🍄