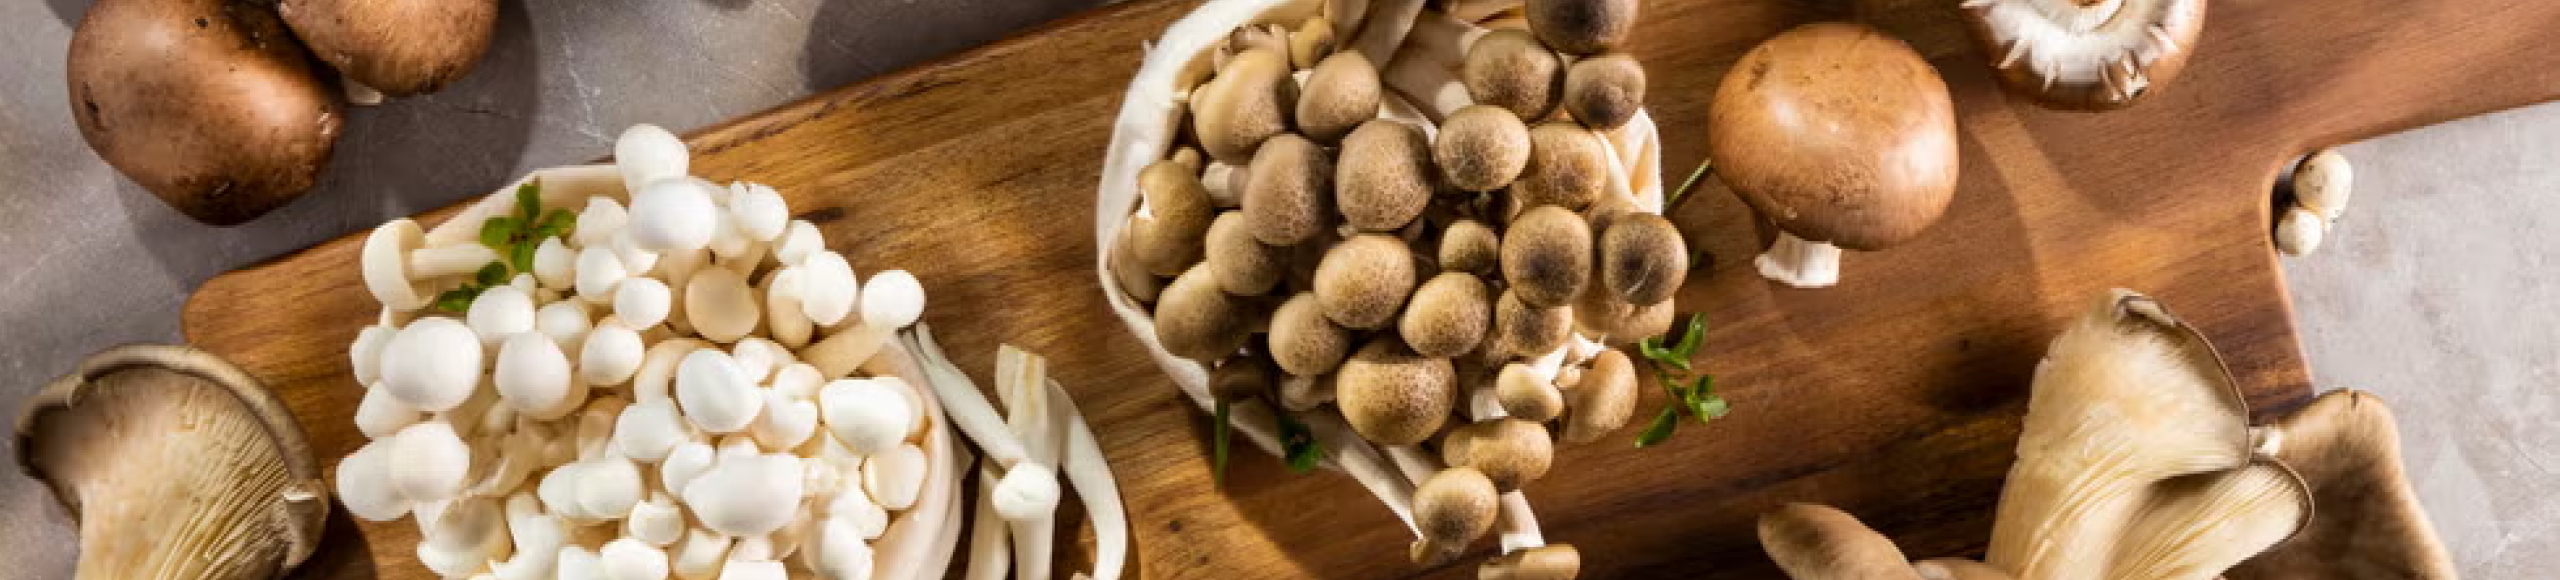
Growing kit instructions
Grow Kit – Box Instructions
Follow these simple steps to grow fresh mushrooms at home with your kit.
- Find a Spot
Place the kit in a cool, humid spot, like a kitchen counter or shower. Don’t place in direct sunlight or near an open window to avoid drafts. - Prepare
Remove the perforated panel on the front to reveal the bag inside. Take out the spray bottle and fill it with water. - Cut the Plastic
Slice an ‘X’ about 2-3 cm long into the plastic exposed in the box window. Avoid larger cuts to prevent drying. - Mist Daily
Use the sprayer with water to mist the ‘X’ 2-3 times daily, then briefly fan for fresh air. - Watch for Pins
Pins (baby mushrooms) should form in 1-3 weeks. Harvest when caps open, about 5-10 days later. - Harvest
Gently twist or cut mushrooms at the base with a clean knife before they drop spores.
Detailed Growing Steps
Get the most from your mushroom kit with these detailed instructions.

Find the Perfect Spot
Position your kit in a cool, humid area with indirect light, such as near the shower or kitchen sink, avoiding direct sunlight or drafts. Maintain temperatures between 16-24°C and humidity levels between 85-95%. A naturally humid space can enhance results.

Prepare the kit
Remove the perforated panel on the front to expose the bag inside the box. Lift the lid to remove the spray bottle and fill it with water. Carefully cut a 2-3 cm ‘X’ through the window into the bag to start the fruiting process. Avoid large cuts to prevent the mycelium from drying out.

Keep an eye on your conditions
Use the sprayer with water to mist the ‘X’ 2-3 times daily as a minimum, keeping it damp and aiming for 85-95% humidity. In dry climates, increase to 3-5 times daily. Fan gently with a piece of cardboard after misting to bring in fresh air.
Boost Humidity (Optional)
If you live in a dry climate, consider creating a “humidity tent” by using a smoothie cup lid to cover the opening of your kit, with the straw hole open. This will help retain humidity while allowing fresh air to circulate.

Be Patient for Pins
Pins (small bumps or baby mushrooms) may take 1-3 weeks to form, depending on conditions. Once they appear, mushrooms mature quickly, often in 5-10 days. Keep misting 2-3 times daily (or more if dry) and fanning during this stage.

Harvest at the Right Time
Harvest when caps open and gills are visible, typically 3-7 days after pinning, before the caps flatten out (for oysters and Chestnut) or when Lion’s Mane reaches about 10-15 cm wide and feels firm. Gently twist or cut at the base with a sharp, clean knife before they drop spores—overripe mushrooms lose freshness and may weaken future yields. Wash hands first to avoid contamination.

Multiple Flushes
Expect 2-3 flushes in total. After each harvest, let the substrate rest for a few days by taping over the ‘X’ to retain moisture. Reopen and resume misting and fanning. If the block feels dry, soak it in water by placing it face down in a bowl of water for 20-30 minutes, drain well, and continue.

Post-Harvest Care
Store fresh Pink Oyster mushrooms in a paper bag in the fridge for up to 5 days, as they spoil faster. Other varieties (White, Brown, Grey, Yellow Oysters, Lion’s Mane, Chestnut) can be stored in a paper bag in the fridge for up to 2 weeks. For longer storage, dry them at 45-50°C until brittle and keep in an airtight container.
Troubleshooting and Tips
Solve common issues and enhance your mushroom-growing experience with these tips.
Troubleshooting
Mushrooms Aren’t Growing
Symptoms: No pins after 3 weeks.
Solution: Ensure humidity is 85-95% and temperature is 16-24 °C. Place in a cool, humid spot like a kitchen counter or near the shower, and mist 2-3 times daily (more if dry). Check for indirect light and drafts which could dry it out. It may just need more time.
Green or Black Mould
Symptoms: Visible mould on the substrate.
Solution: Check for contamination early and remove affected areas with a clean knife immediately. Increase fanning after misting for better ventilation. Discard the kit if mould spreads widely.
Slow or Spindly Growth
Symptoms: Mushrooms grow slowly or have long stems and small caps.
Solution: Move to a brighter spot with indirect light and fan more often after misting to improve airflow and light exposure.
Dry Mushrooms
Symptoms: Mushrooms shrivel or dry out.
Solution: Increase misting. Consider using a humidity tent or place a clean smoothie lid (with its drinking hole open) into the box window to trap moisture. Mist under the lid 2-3 times daily until pins form, then remove.
Pro Tips
- Humidity Boost: Place a small bowl of water near the kit to naturally enhance moisture in dry climates, alongside misting 2-3 times daily (or more if dry).
- Harvest Timing: Pick when caps open but before they flatten or drop spores for the best flavour, freshness, and future yields. Spore drop is fine but can weaken the mycelium over time.
- Maximising Flushes: Expect 2-3 flushes total. After each flush, tape the ‘X’ shut for a few days’ rest, then reopen and mist 2-3 times daily (more if dry). Soaking the block face down in a bowl of water for 20-30 minutes between flushes can help maintain yields.
- Cleanliness: Wash hands and use a sterilised knife to avoid introducing contaminants that could harm the mycelium.
- Airflow Trick: Fan gently after misting to mimic natural breezes, encouraging sturdy, healthy mushrooms.
- After Use: Once spent, break up the substrate and bury it in a shaded garden spot for a chance at outdoor growth next season.
Quick Reference Conditions
- Humidity: 85-95% (mist 2-3 times daily, 3-5 times if dry, use smoothie lid if needed).
- Temperature: 16-24°C (optimal, avoid extremes).
- Light: Indirect, natural light (no direct sun).
- Airflow: Gentle, via fanning.